TPU Exoskeleton Printing and Fiber Embedding
Printed parts:
- Finger fiber trimming jig
Assembled Components:
- Short spectral fiber + prism
- Long spectral fiber + prism
Materials:
- 1mm PMMA fiber
- Loctite [number]
- Ziro 95A TPU
Equipment:
- FDM 3D printer (with 0.4mm nozzle)
Print Job Setup
Slicer Settings:
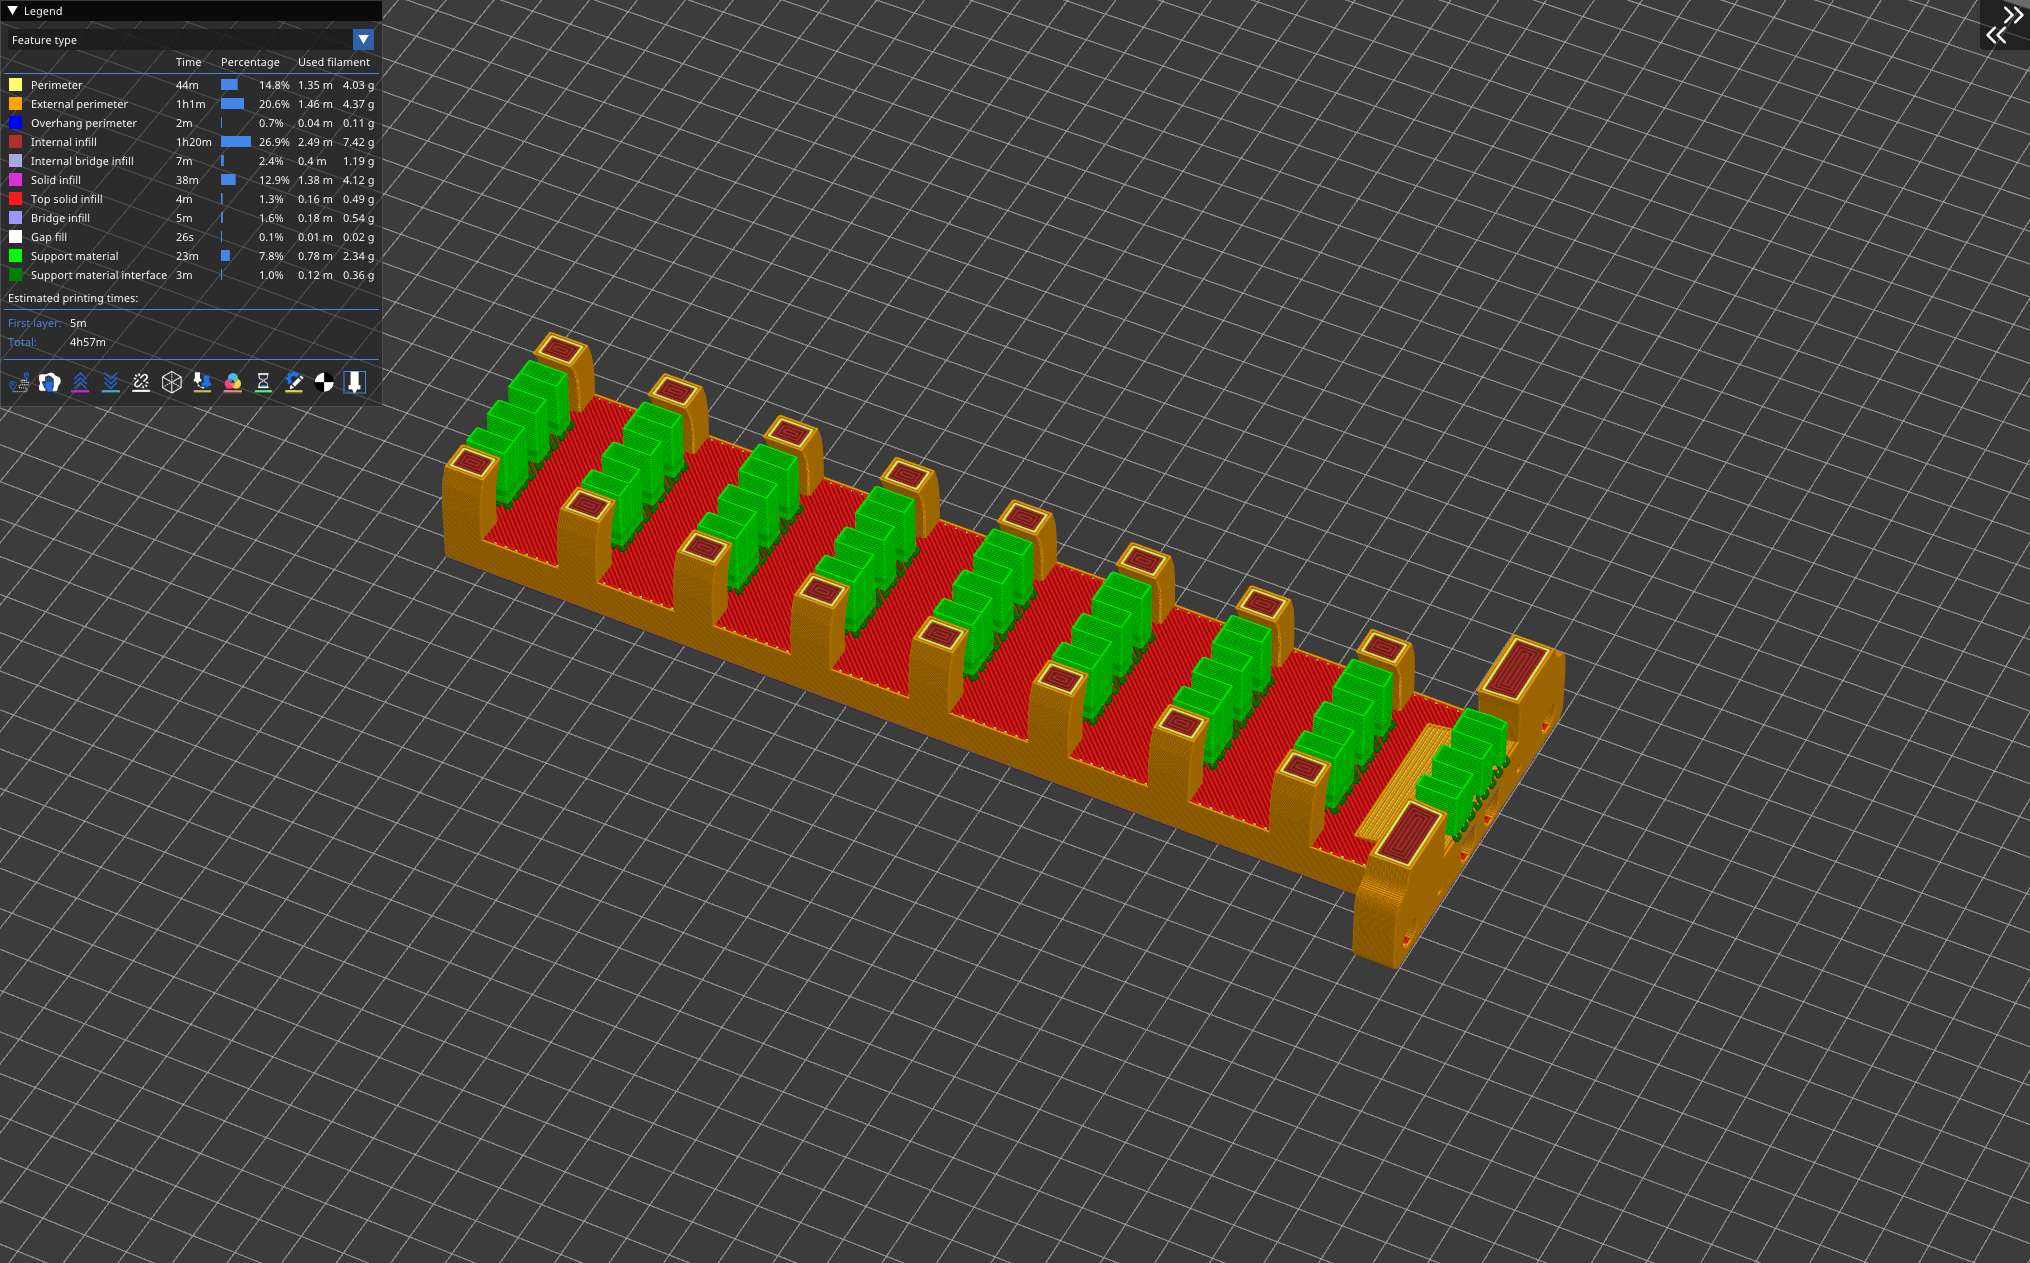
The TPU exoskeleton was printed using 95A TPU with a 0.4mm nozzle at a 0.1mm layer height and infill set to 15% gyroid. Support material was enabled with a 45° overhang threshold using the “snug” support type. We did some additional tuning for the support interface to ensure that the bottoms of the ribs would print cleanly, and the support would release easily. We set up modifier boxes so that the supports would only appear under the ribs of the exoskeleton, and not in the component inlay tracks. We also set up additional modifier boxes with a 100% concentric infill pattern on the ribs and back face. These boxes and a cross-section of the model are shown below.

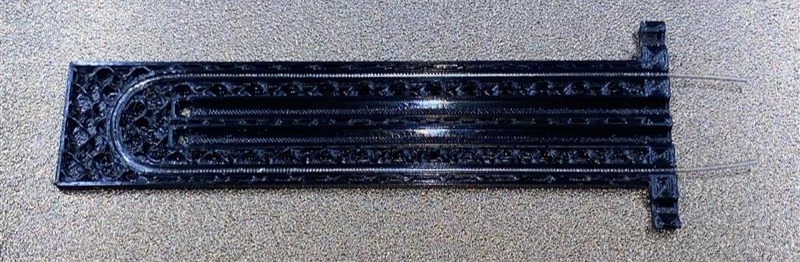
Insert a pause print on layers 32 and 45. Ensure that the pause happens before these lines start and not after, as the inlaid components will be immediately embedded as the print resumes. We recommend orienting the print so the mounting holes are pointing to the right, as seen in the photos above.
Printing
Preliminary Steps:
Cut a roughly [mm] long section of 1mm PMMA fiber. Also ensure you have two cladded fiber-and-prism composite parts, with one longer than the other.
Step 1:
Prior to printing the exoskeleton, print 6 TPU prisms. These will sit in the cavity above the prism when embedding the two cladded spectral fibers.
Step 2:
Once the print pauses for the first time, inspect the track for the U-shaped waveguide. Ensure that there are no blobs of filament stuck in the track, and remove them with tweezers and flush cutters if there are. Now lay in the 1mm PMMA fiber. Ensure that the fiber is not sticking up past the paused layer. Resume the print
Step 3:
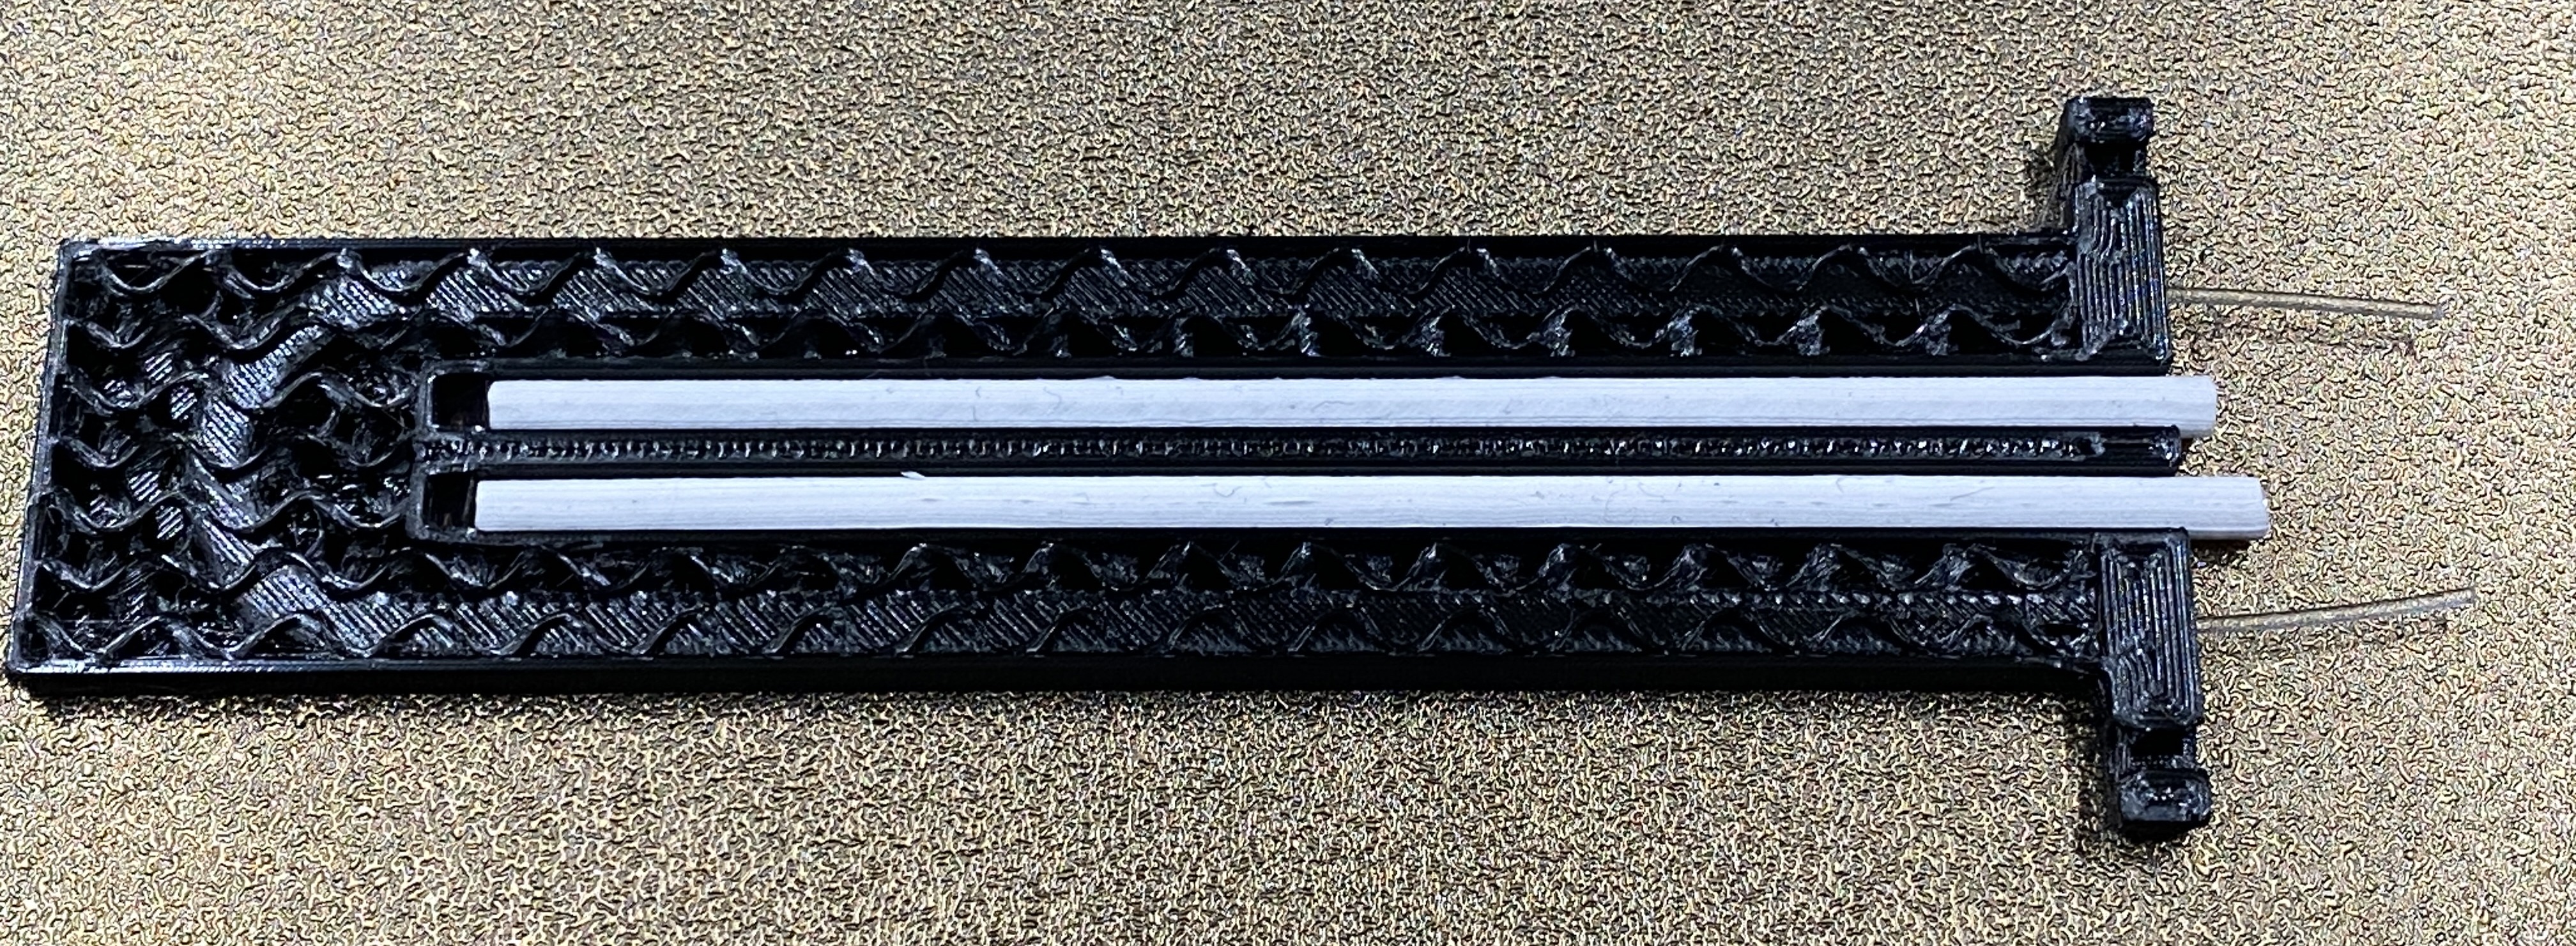
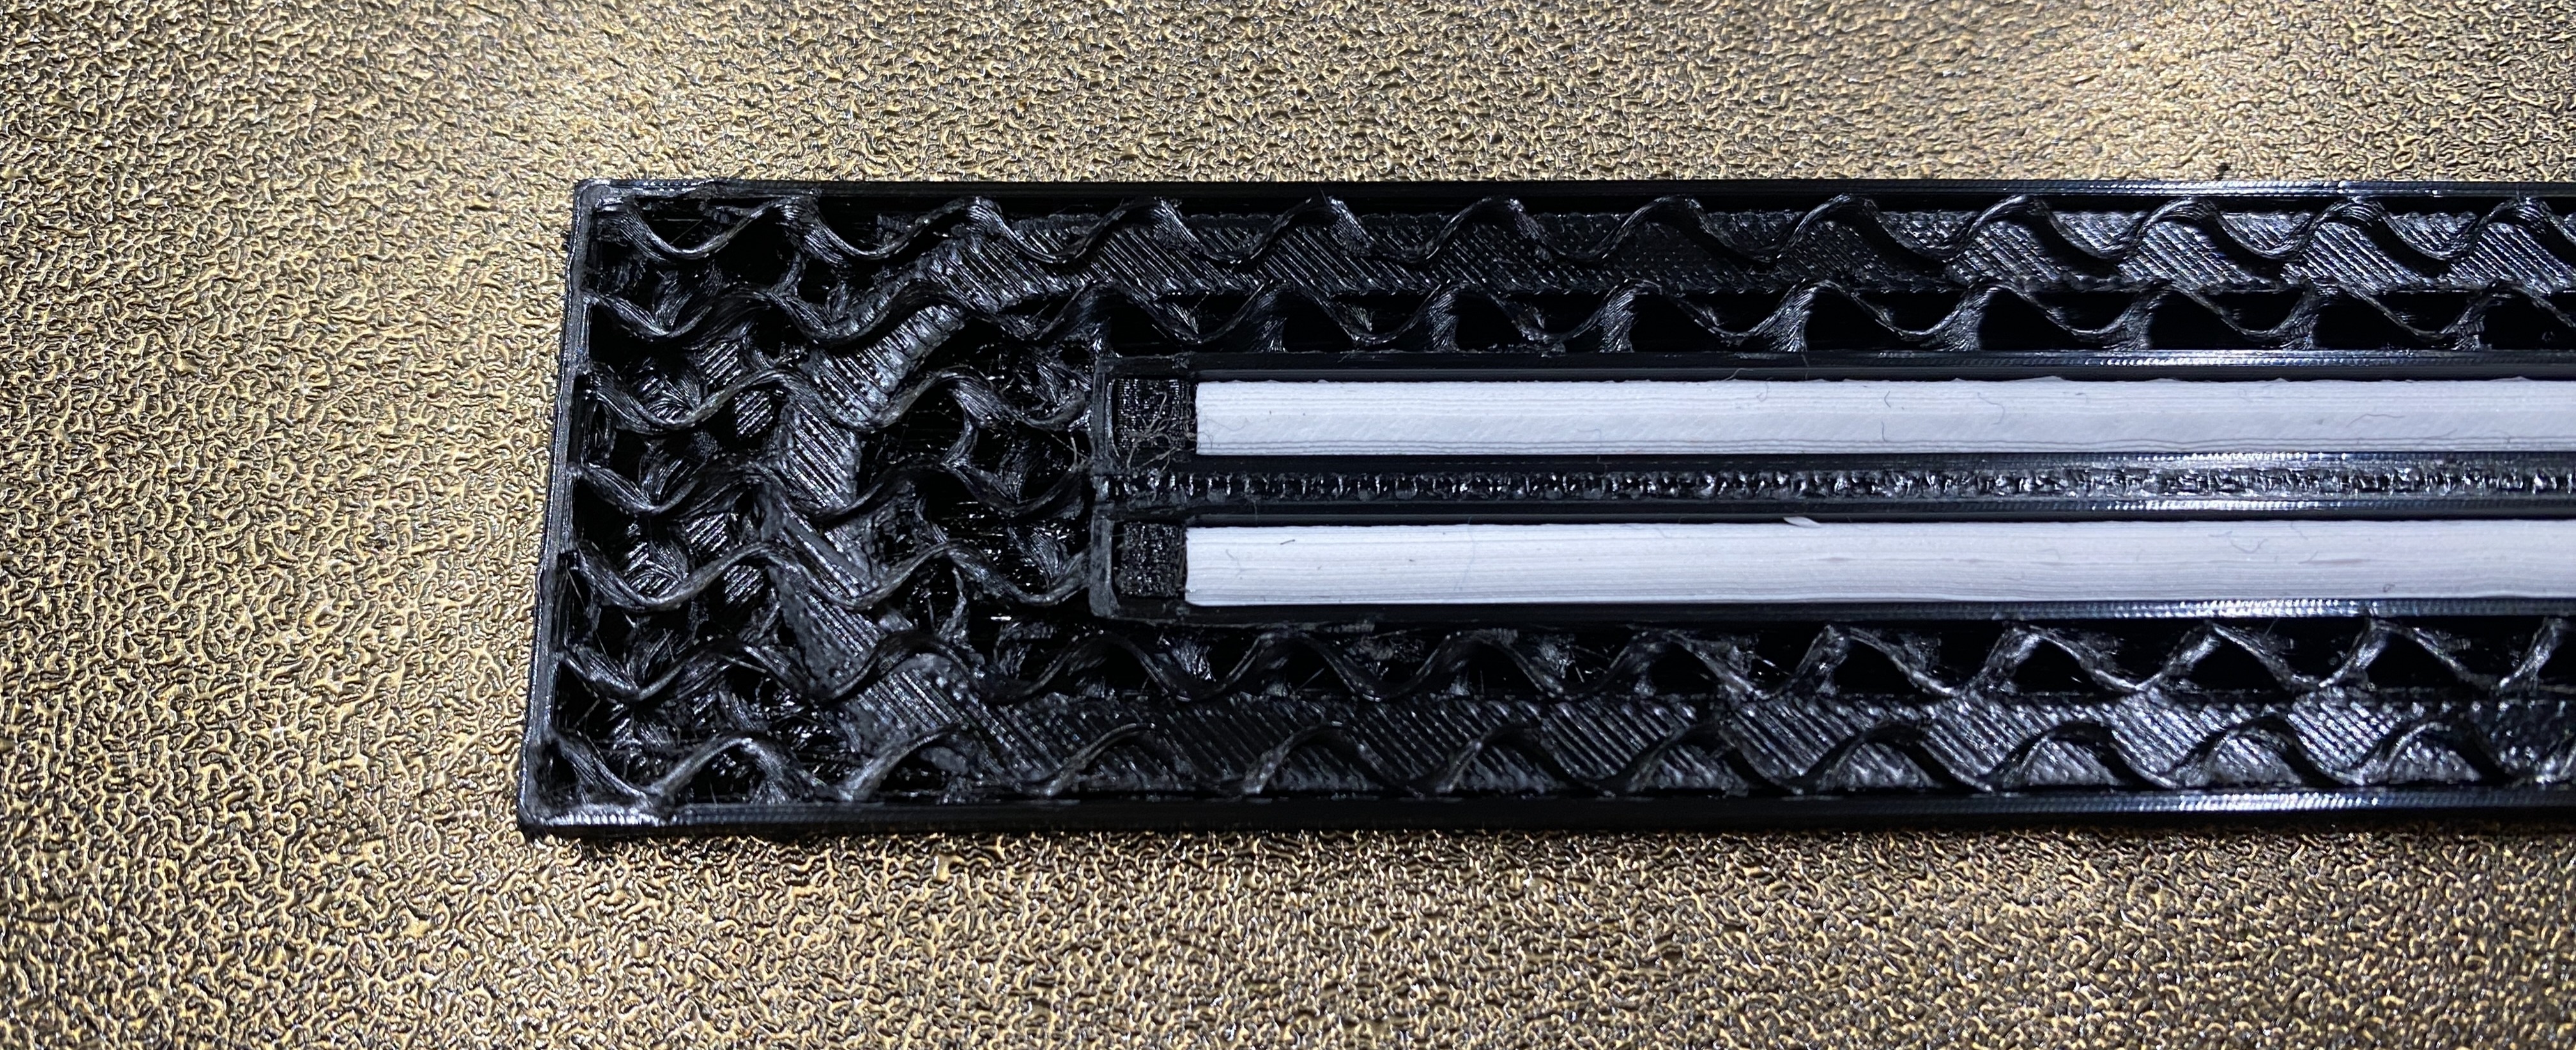
Once the print pauses again, deposit 4-5 small dots of Loctite along each spectral fiber track, and lay the spectral fibers in. The shorter fiber should be on top as shown in the picture below. Take extra care around the prism cavity, and gently press the prism into place. Once laid in, put a TPU prism on top of each prism, and resume the print.
Step 4:
Once the print is finished, remove it from the printer and remove all support material. If there is excessive stringing and blobbing, then use a heat gun/solder reflow gun on a medium-low heat. Next, using the fiber trimming jig and a razor blade, trim all fibers. Finally, using a razor or X-acto knife, trim away the exposed cladding of the spectral fibers so only the PMMA extends past the TPU exoskeleton.

Troubleshooting
Common points of failure:
- TPU not bridging well
- TPU getting stuck during embedding
- support material not releasing cleanly
- other TPU print issues